Installation Guide for Macs
The DPrint departmental Xerox printers are available to install on the Mac using CDA's Managed Software Centre system. Managed Software Centre is usually located in your dock, or in the Applications folder on your Mac.
If you don't have the application, open a support ticket by e-mailing help@concordia.ca and specifying that you'd like Managed Software Centre installed for the purposes of setting up DPrint printers.
1. Launch the Managed Software Centre application.
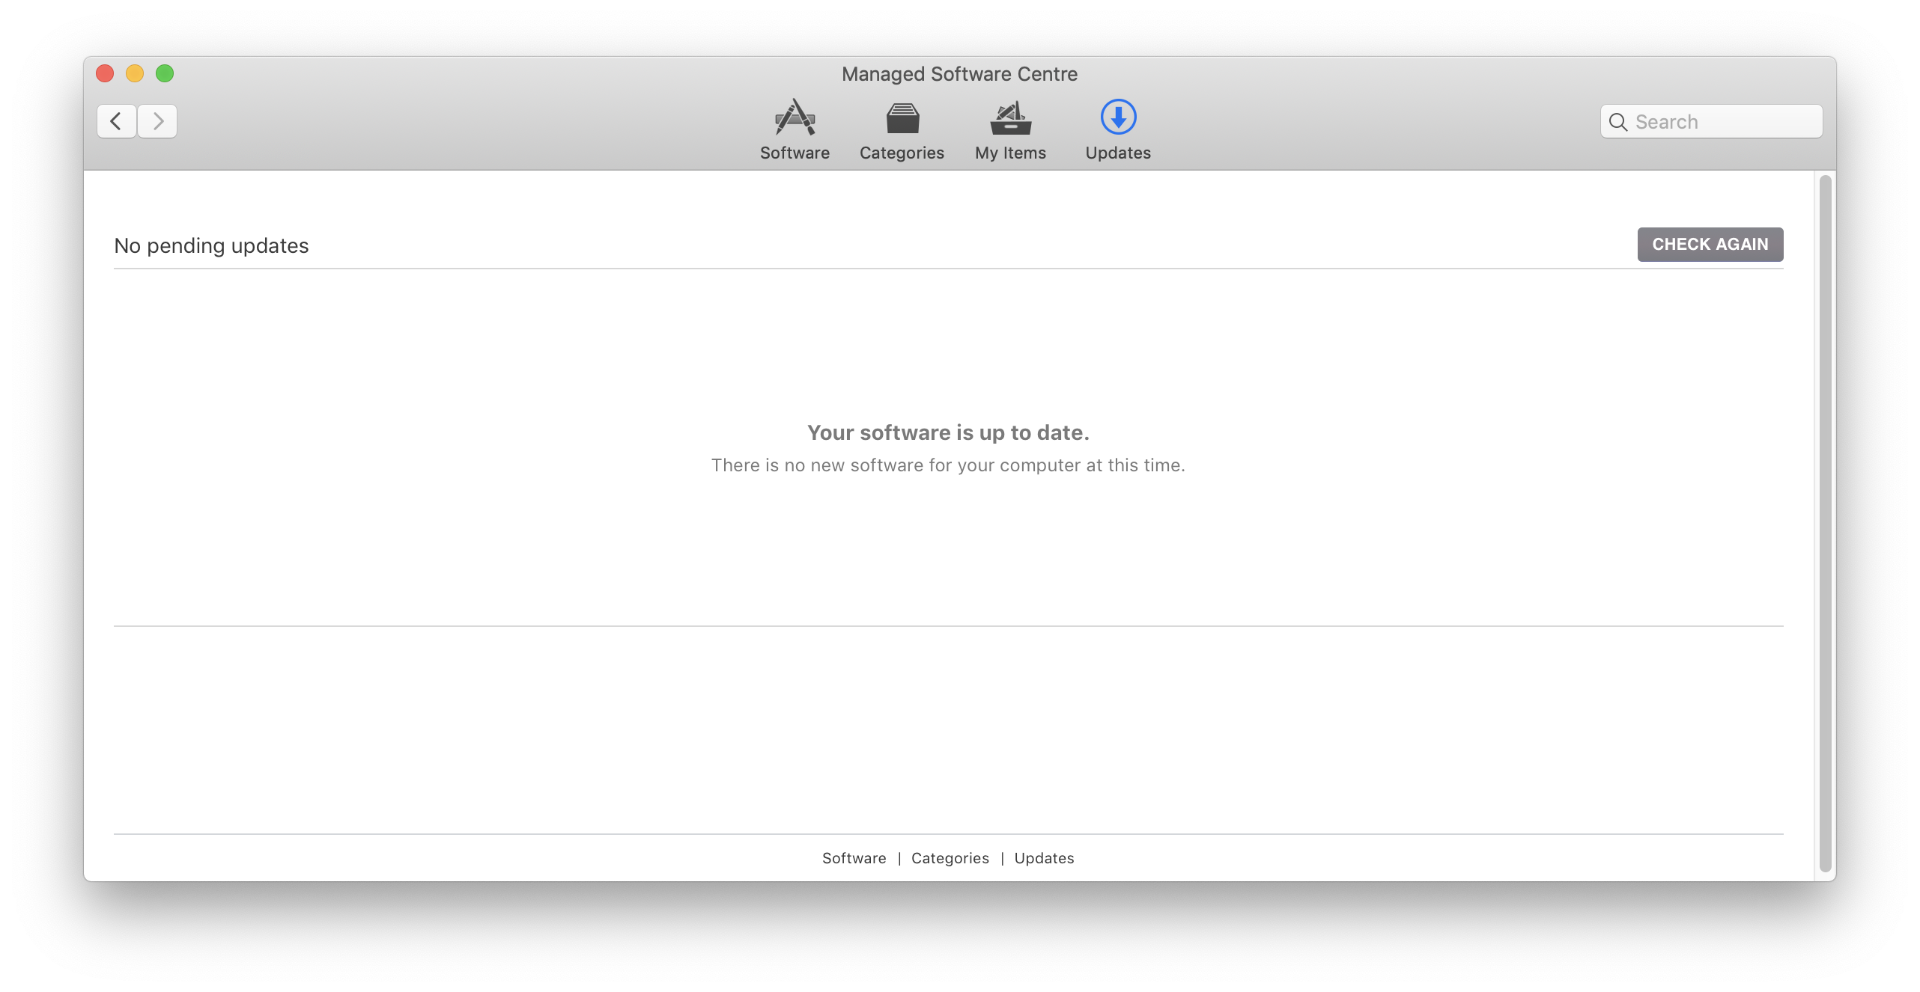
2. If you see pending updates in the list with no Optional Software button, click Update now to apply these updates first. You should have the following once everything is installed :
3. Click the Software button.
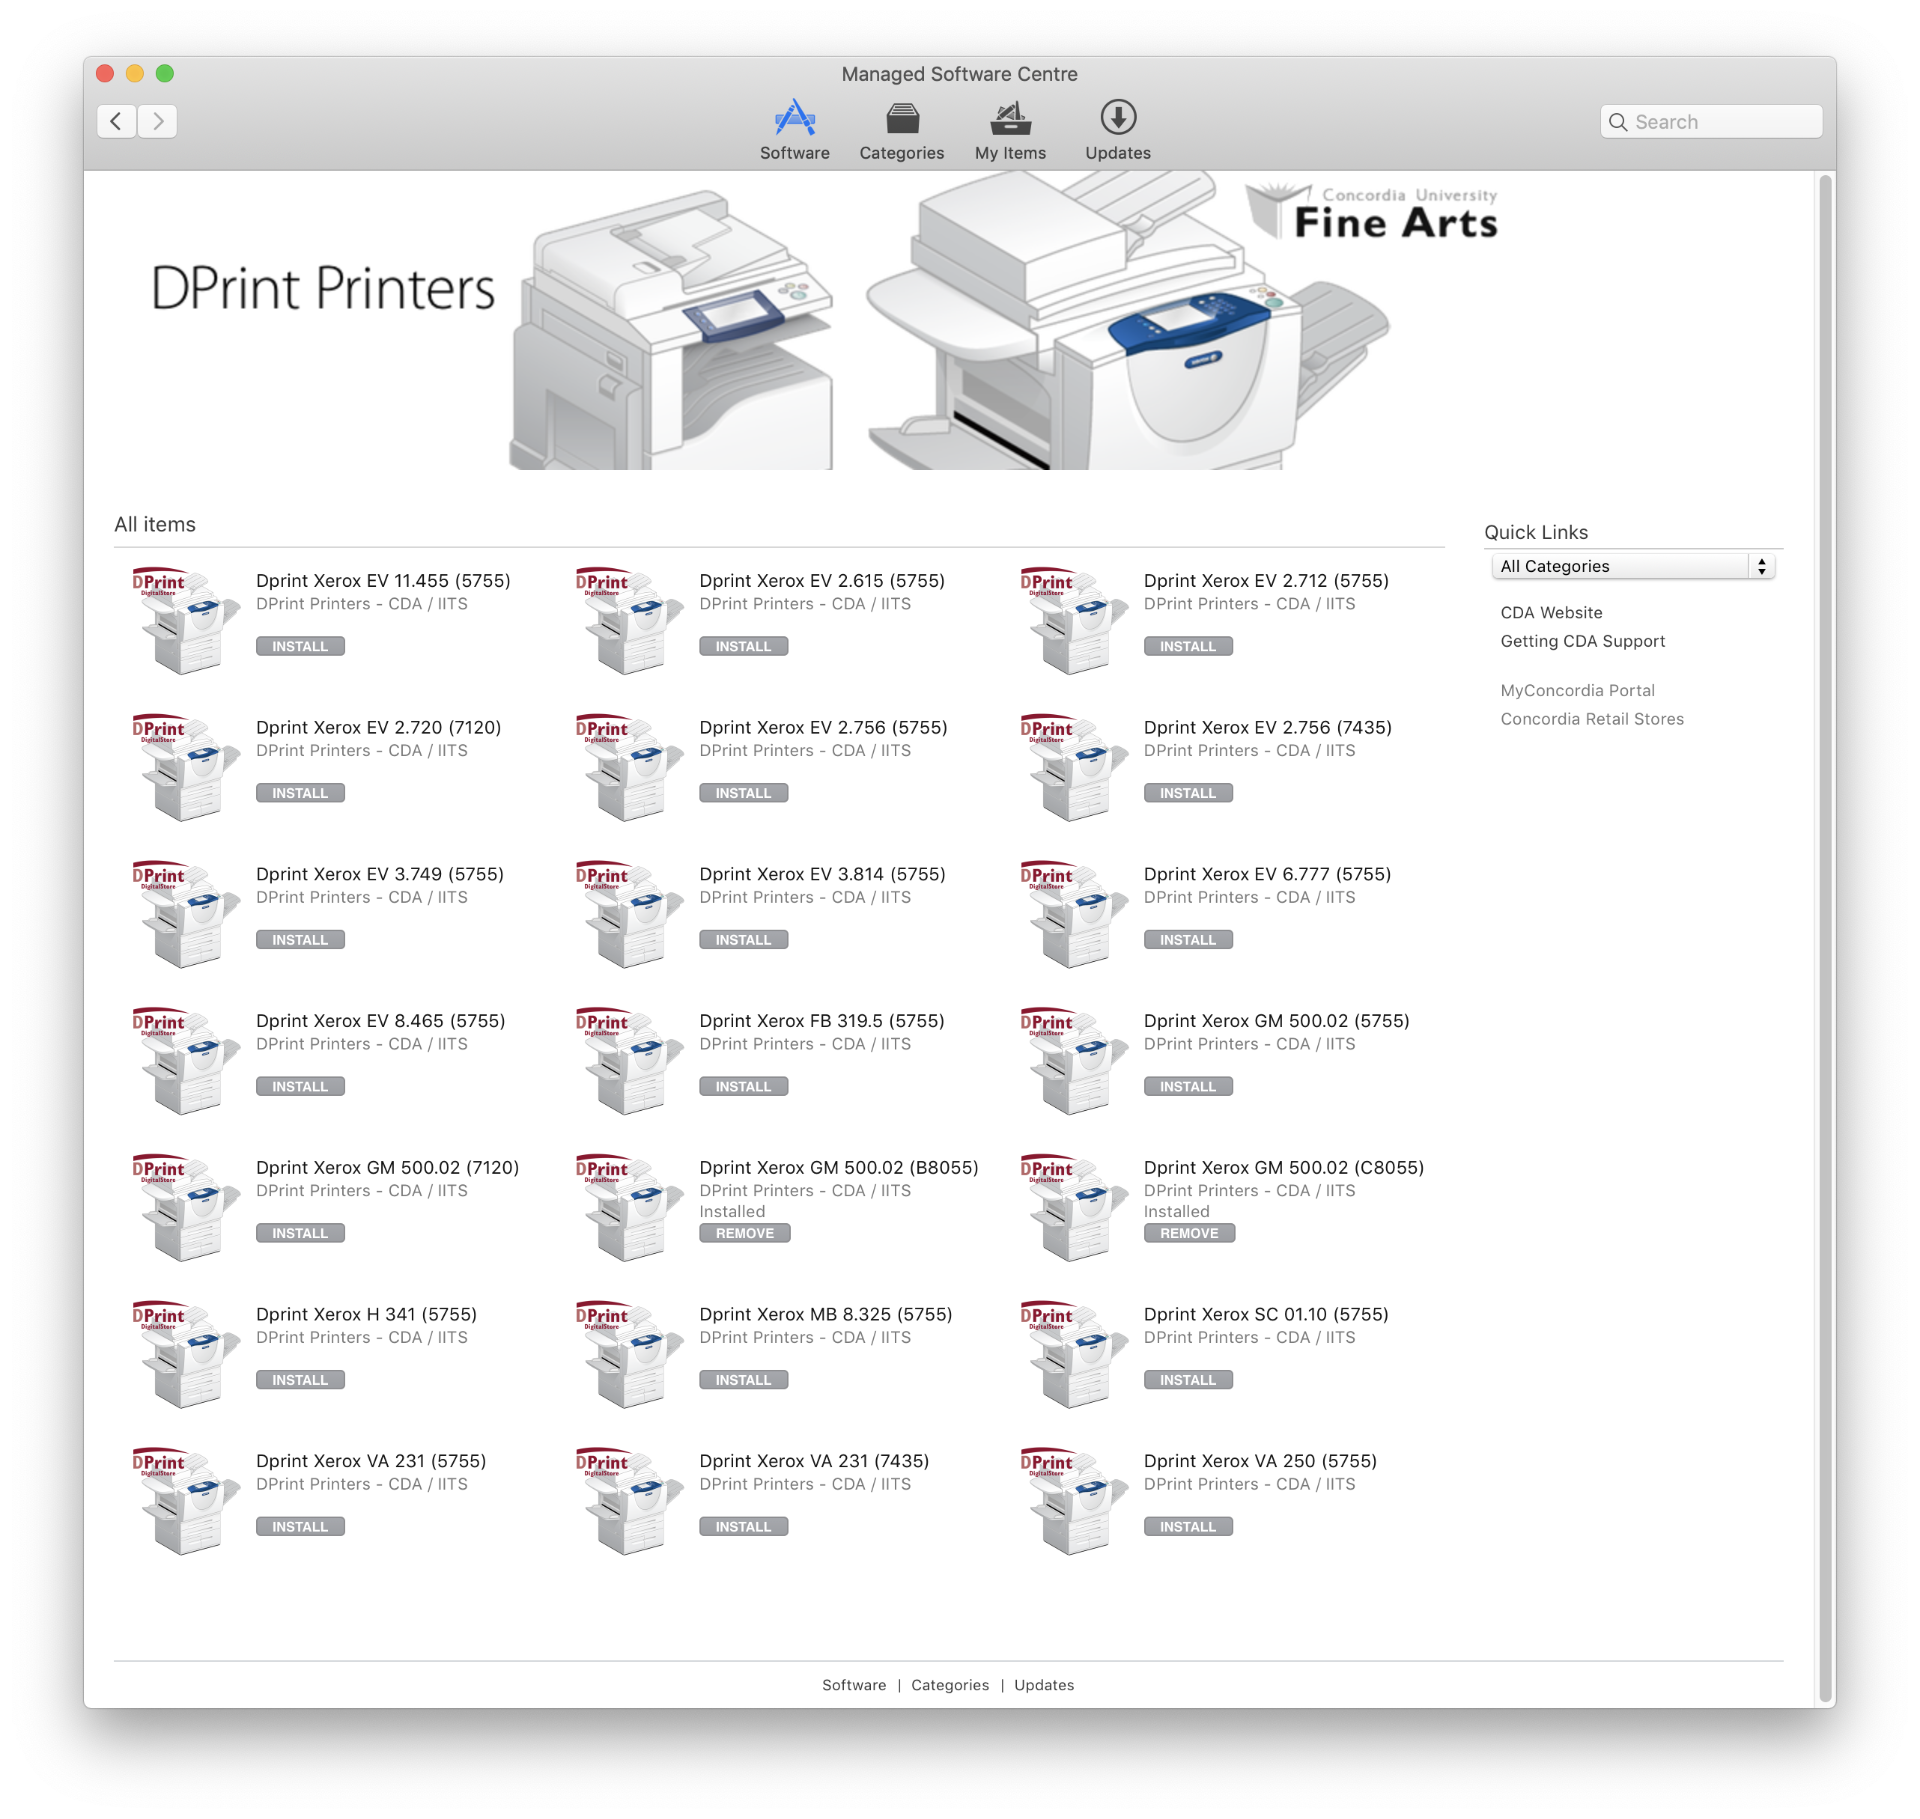
4. Choose the printer you'd like to add by clicking Install under the description. You can also use this system to remove the printer if you decide you no longer need it.
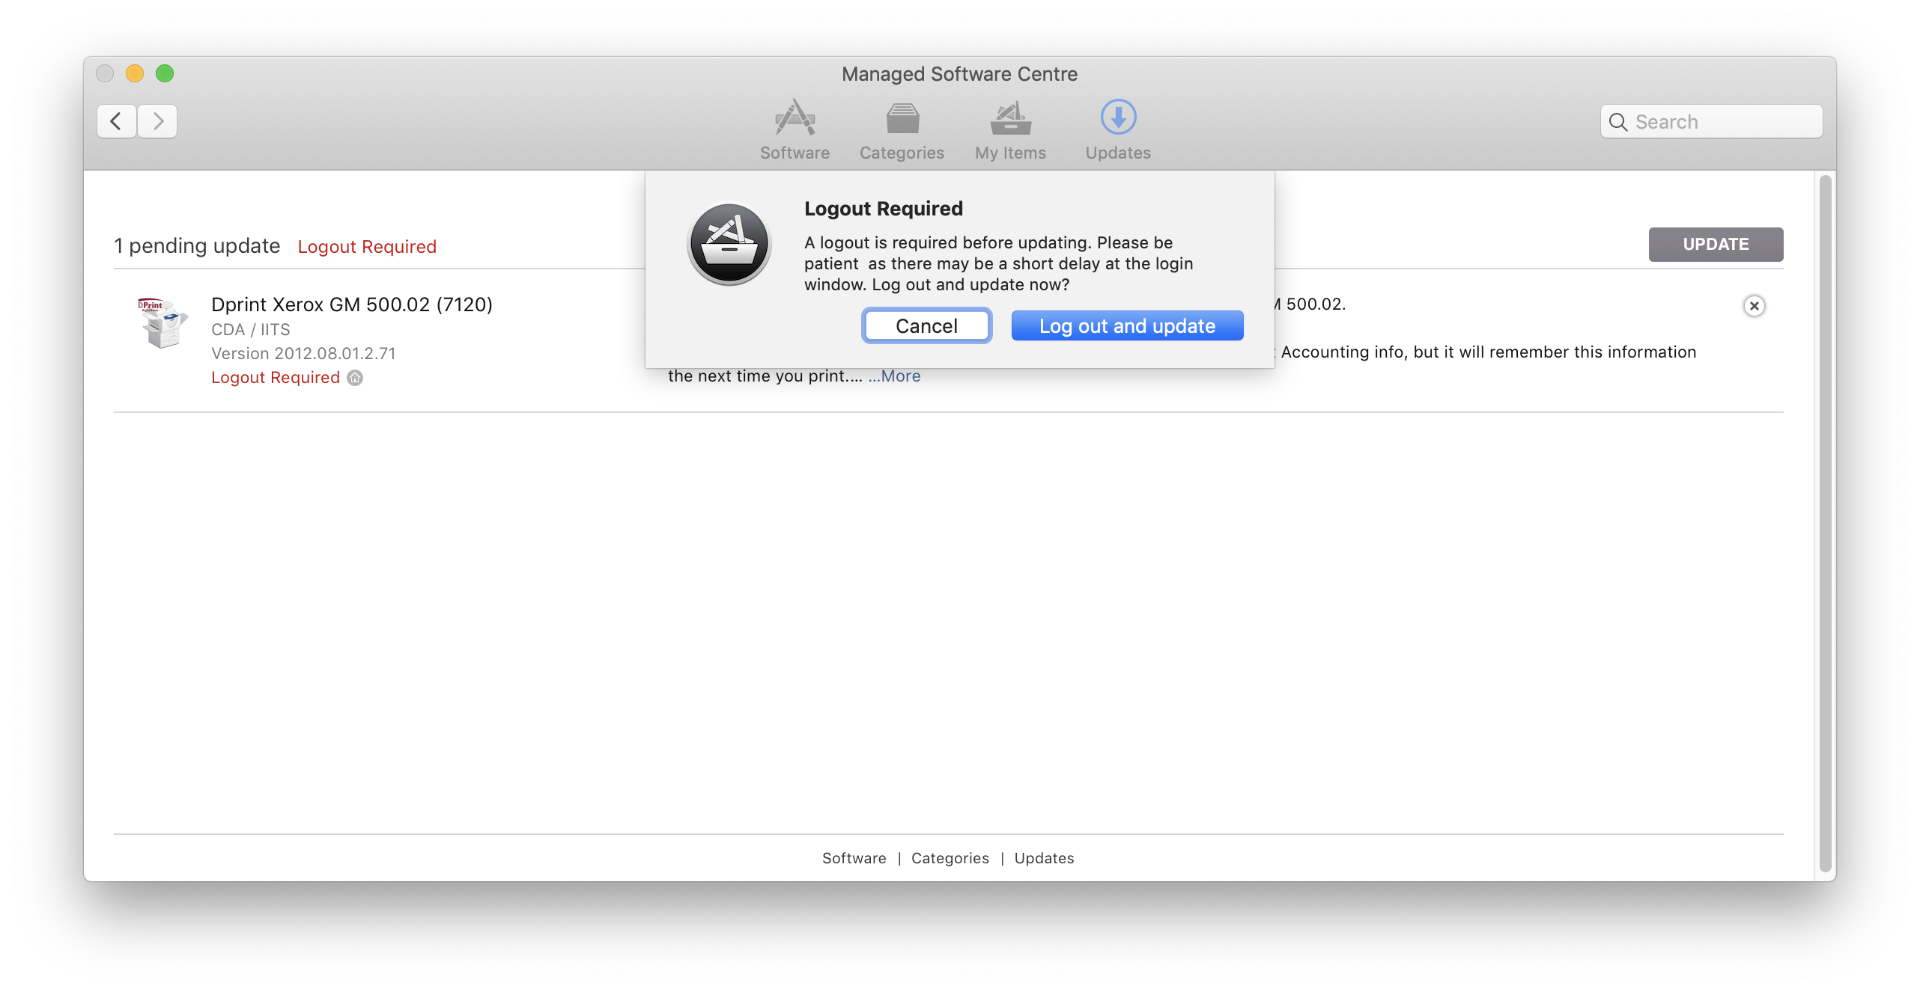
5. It will do a check to retrieve any other needed updates (for example, the drivers if they aren't already installed). A logout will be required, and you'll see the update take place. At this point you can click 'Log out and update'.
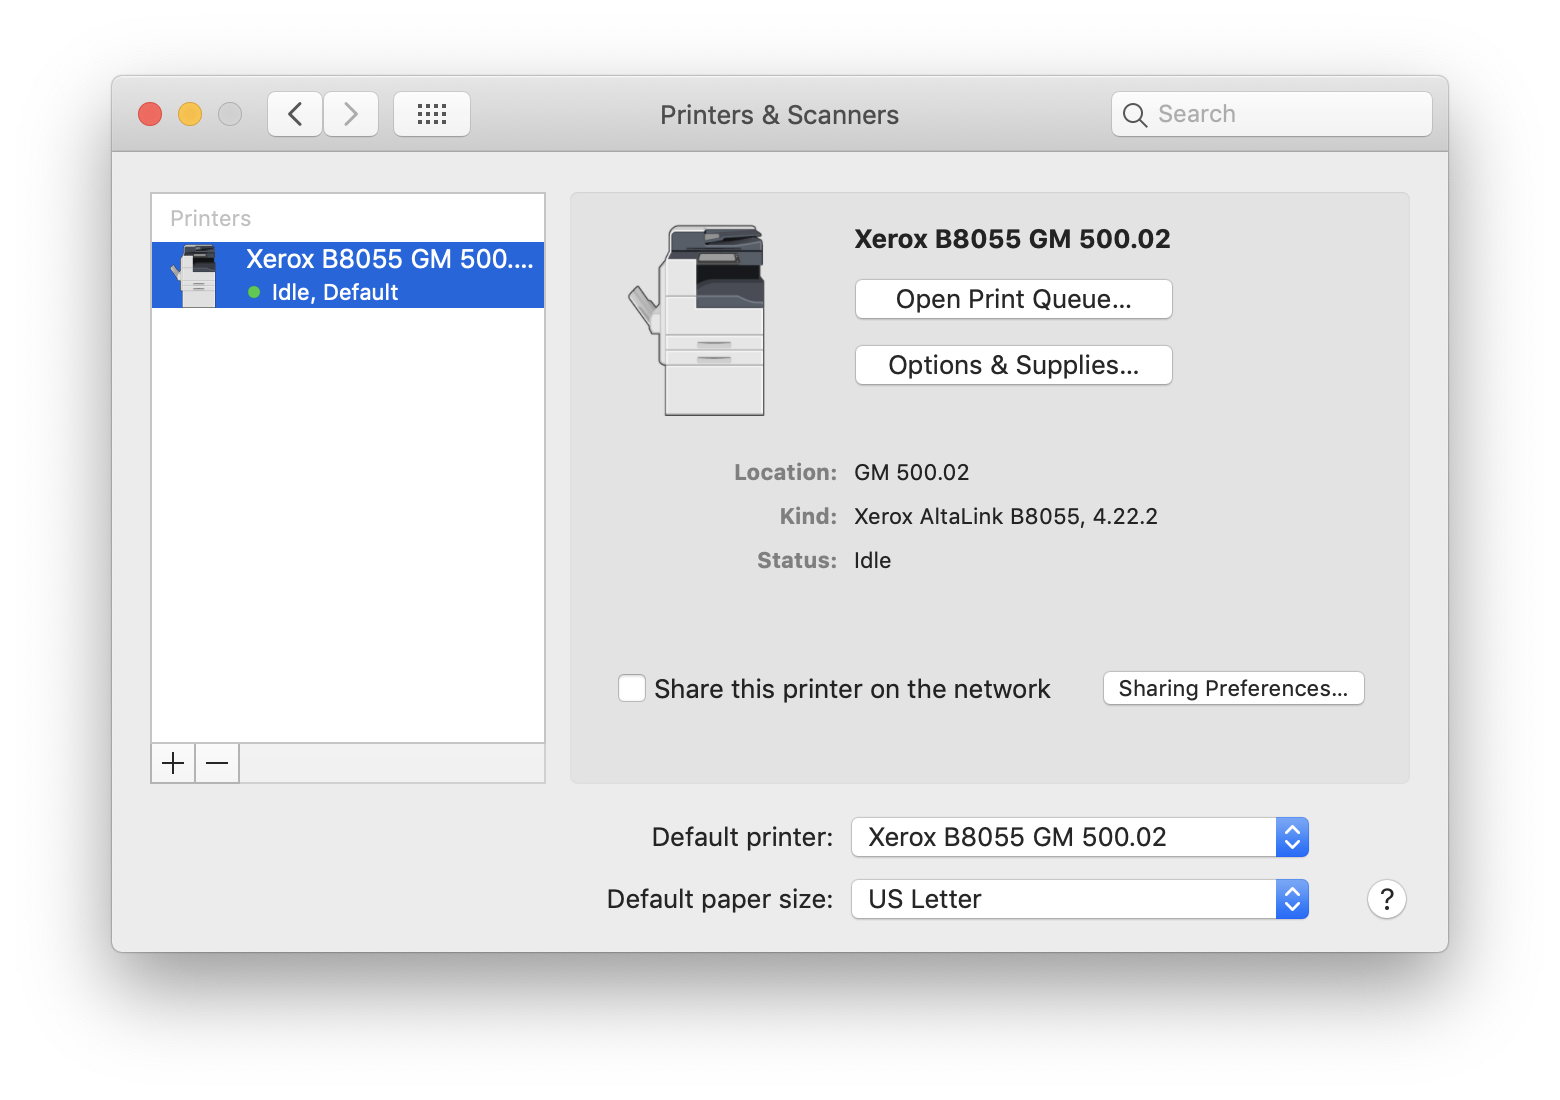
6. If you open System Preferences and choose Printers & Scanners, you should now see the printer is now installed.
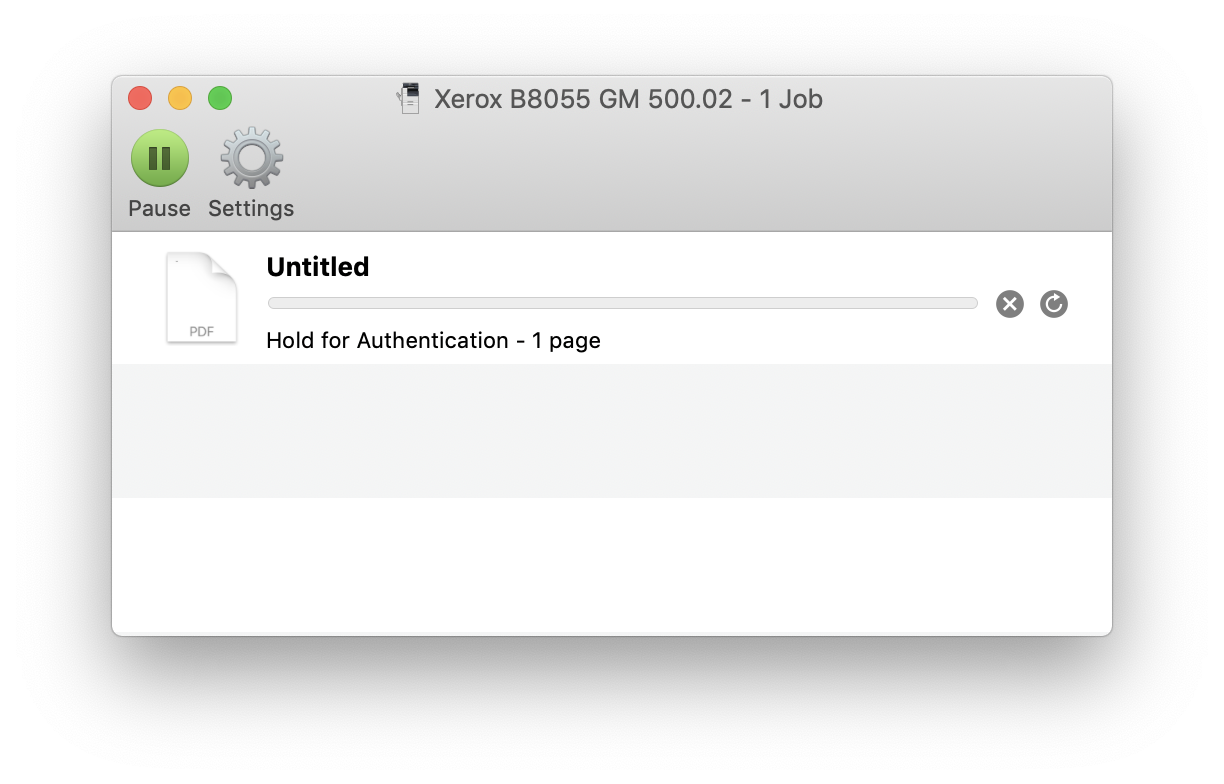
7. Make sure to select the new printer when sending a print job. You should have a Dprint default (Network Accounting) preset. If it's absent, you can start from any preset and go to Xerox Features, Advanced, Accounting and select "Xerox Network Accounting" as the Accounting System. If you don't use this preset your print job will hang waiting for authentication:
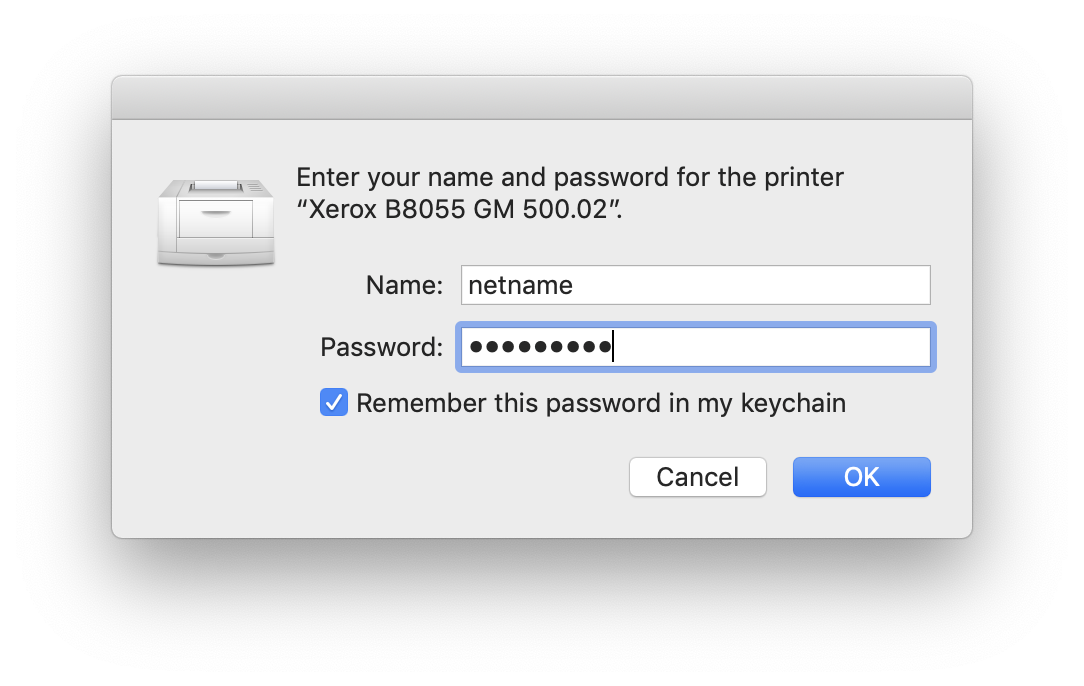
8. You will be asked to enter your netname and password the first time you print (shown below). If you click on Remember this password in my keychain, the credentials will be remembered next time. You will need to enter these once for any additional printers you may install, however.
9. If you need to print using multiple accounts, you will need the additional software called Nuance Equitrac. Just create a ticket to have it installed on your computer.
10. If you'd like to remove a printer, go to Managed Software Centre Software area, but this time click Remove beside the printer you'd like to remove.It is important to only use Managed Software Centre to manage these Dprint printers instead of simply deleting the print queue in System Preferences because Managed Software Centre will try to reinstall if the print queue is absent.
