How to apply for your permanent code (Laptop)
This is a guide to applying for a permanent code using the Student Centre.
Important
Before you start or if you are experiencing any issues accessing your Student Centre:
- Make sure your browser is up-to-date with the latest version available.
- If you are using pop-up blocker, please ensure it is turned off.
- If you are still experiencing issues, try using a different browser.
How to access your Student Centre
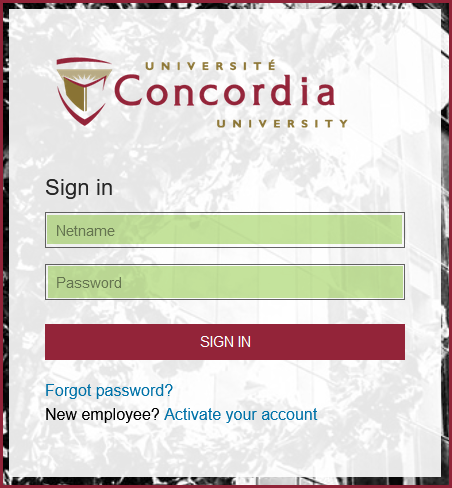
| 1 | Log in to the Student Hub, select My CU Account, then the Student Centre. Sign in with your Netname and password. |
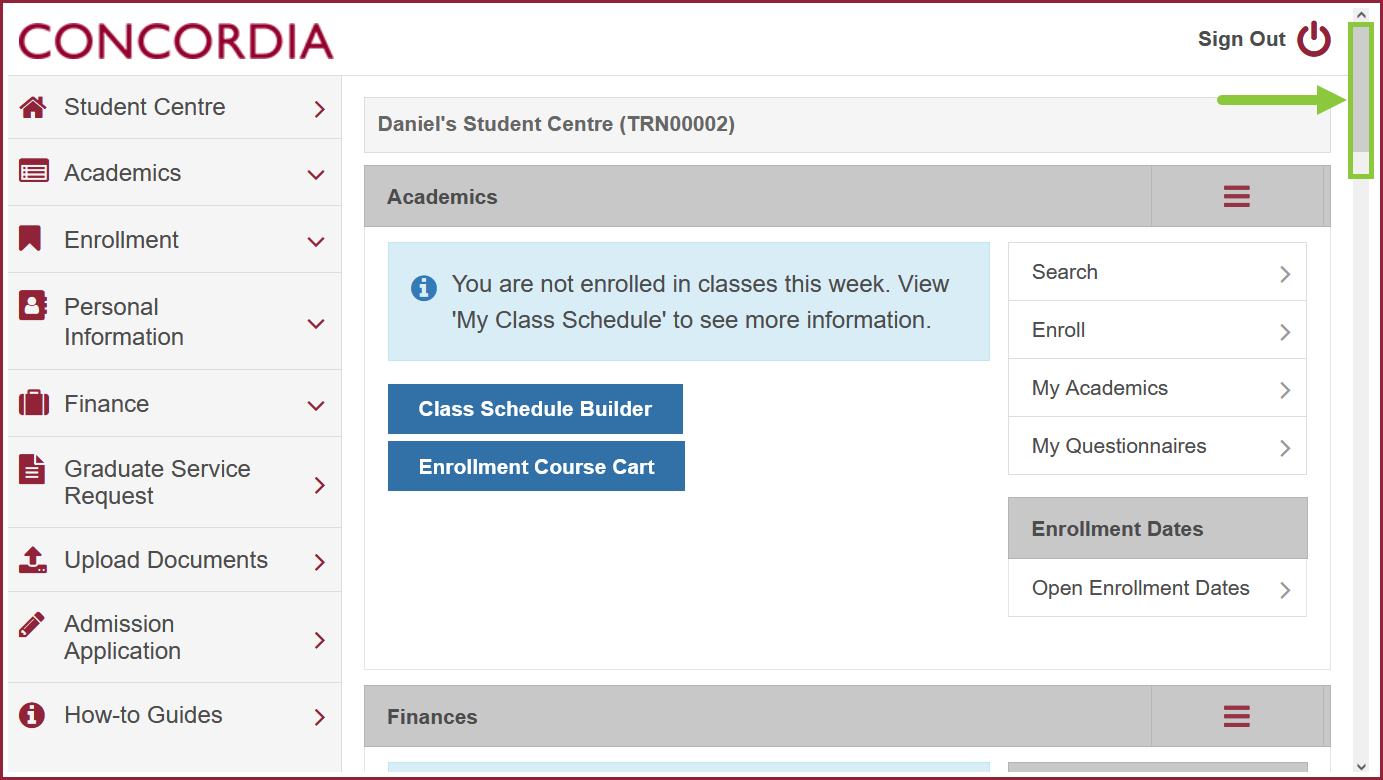
| 2 | Scroll down to view the Personal Information section. |
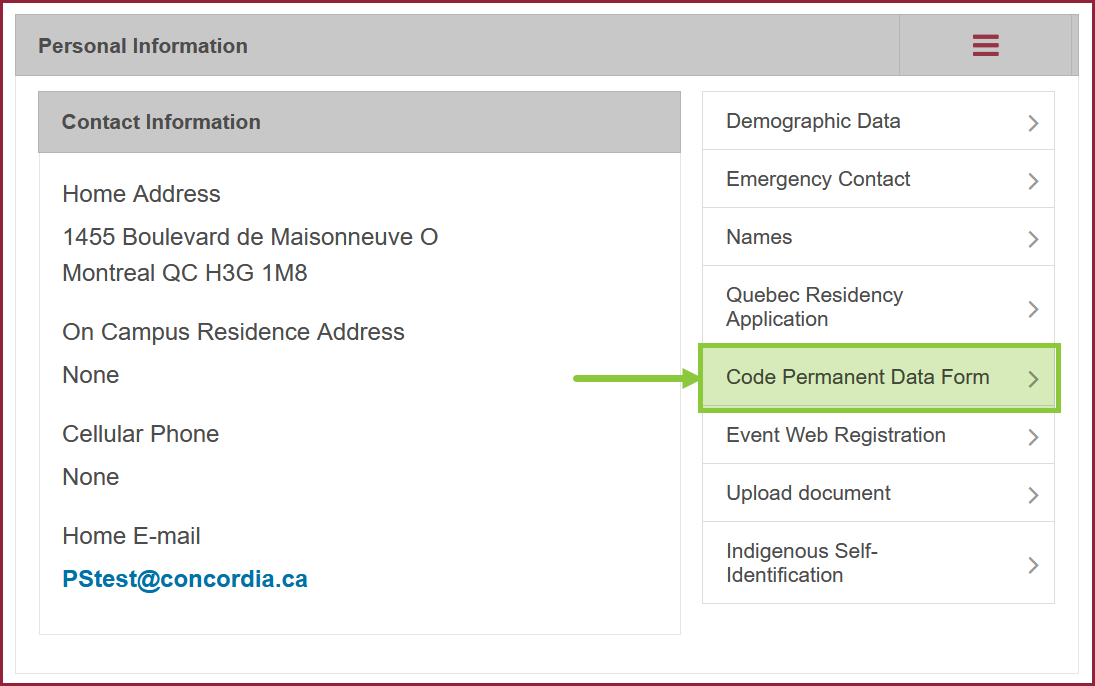
Code Permanent Data Form
| 3 | Select Code Permanent Data Form. |
| 4 | Please note if you already have a Permanent Code on file, a message will pop up indicating the code is already on file with the University. |

| 5 | Check the details in the Concordia Information section for accuracy. |

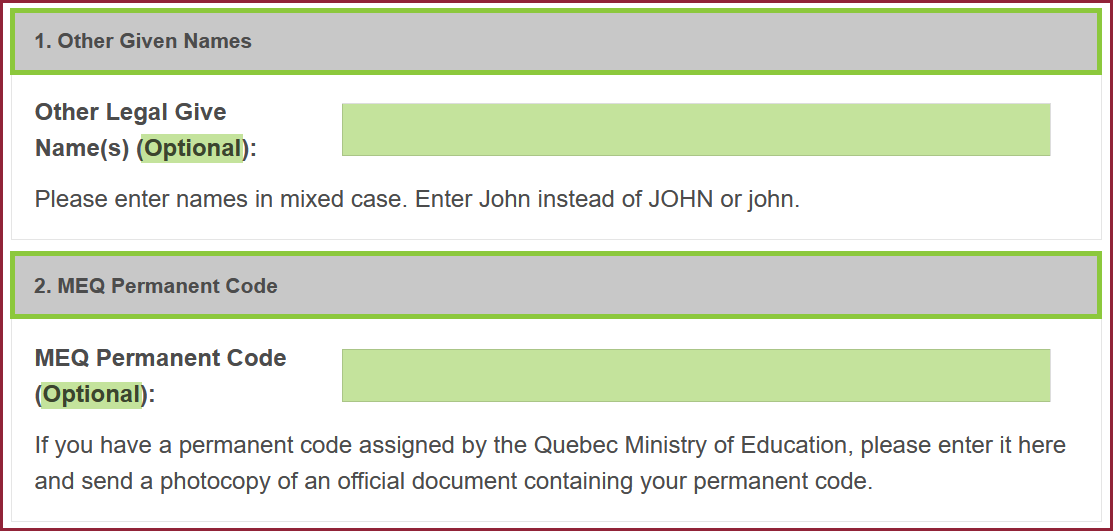
| 6 | OPTIONAL: Complete the Other Given Names section and the MEQ Permanent Code section, if applicable. |
| 7 | Your Place of Birth should appear automatically. Enter the information if missing. Your Parents Names information appears automatically if the system already has that info. If not, enter it manually |

| 8 | Read the Terms and Conditions. Check I agree to the Terms and Conditions. Select Save. |
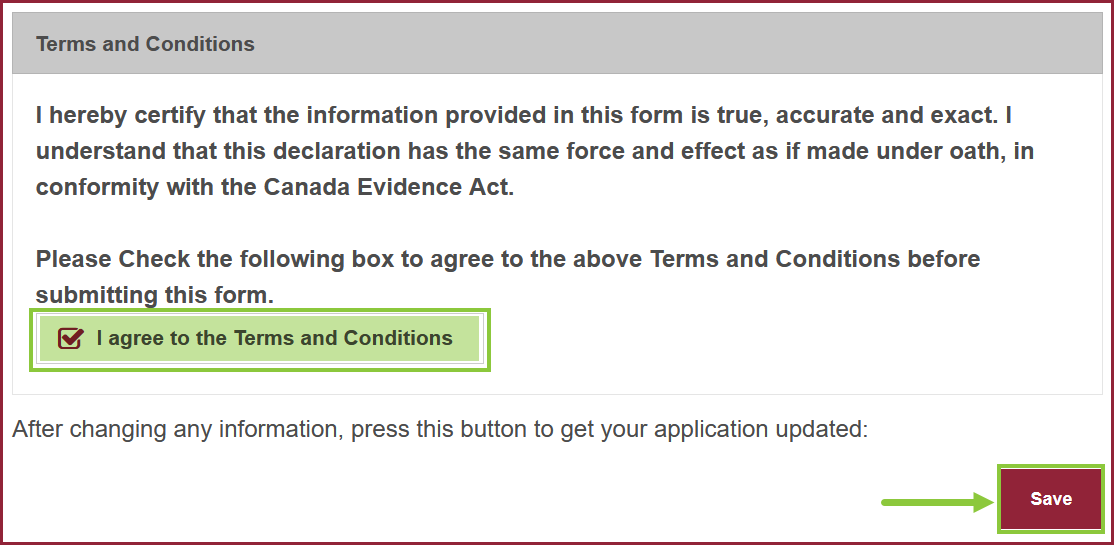
| 9 | Select Allow in the message to return you to your Student Centre dashboard. You will receive an email notification if you need to provide additional documents. |

To Do List
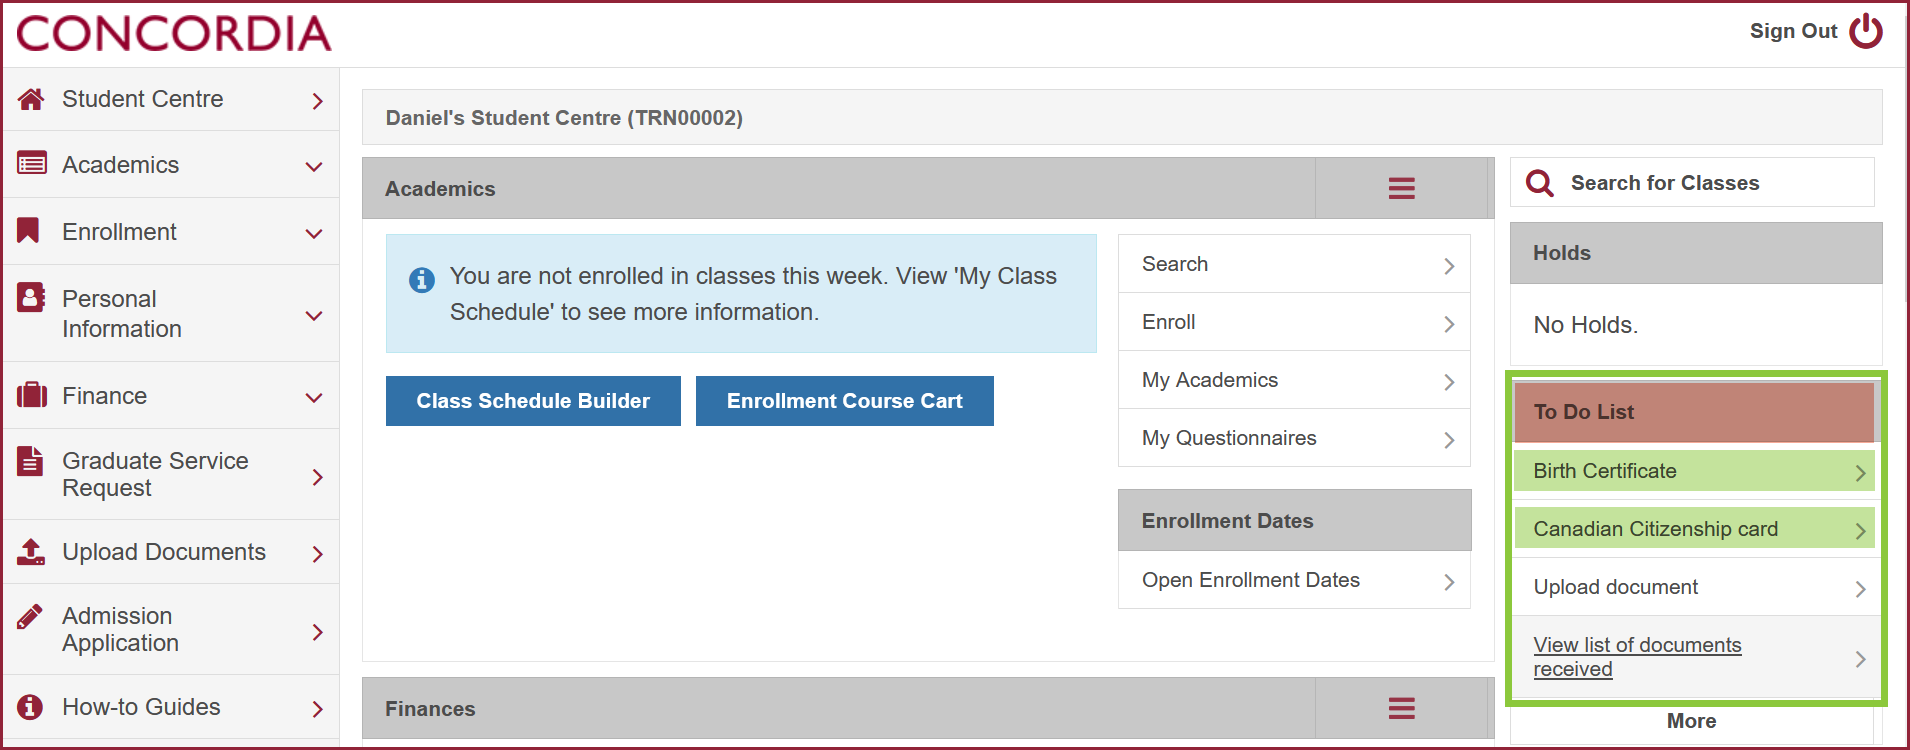
| 1 | You can check the To Do List to see the documents you will need to provide. |
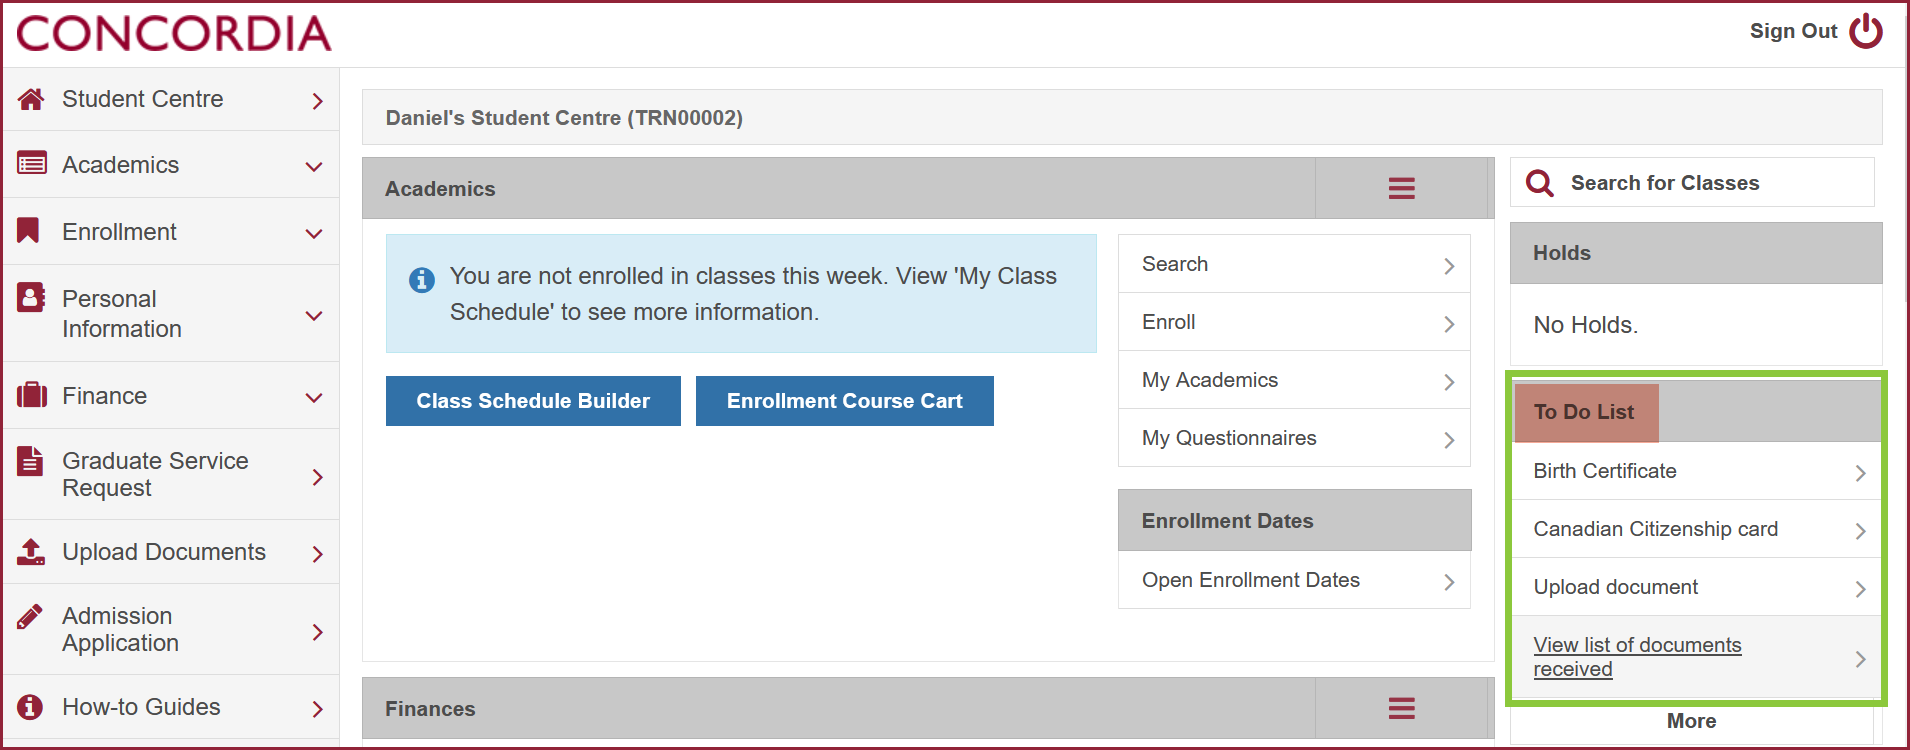
| 2 | Select an individual item to view the item's details. |
| 3 | If you wish to upload a document, click the Menu icon on the upper left-hand side of the screen. Select the Upload Document link to submit the required document(s). |
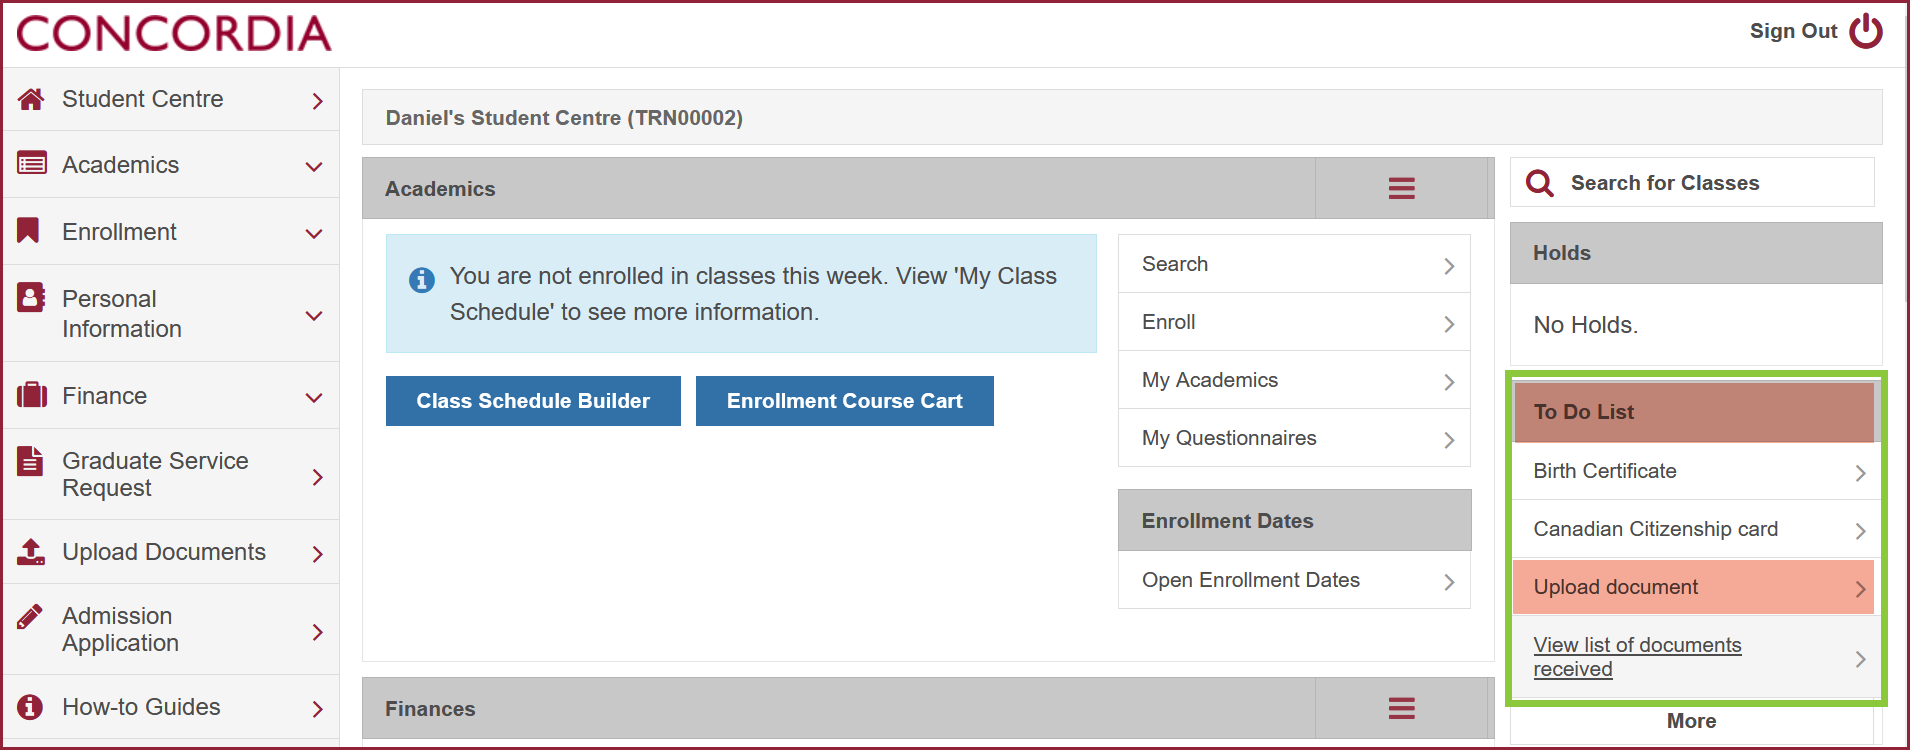
Need help? See the How to upload documents guide.
NOTE: If you have problems uploading a document, you can submit it in person at the Birks Student Service Centre.

